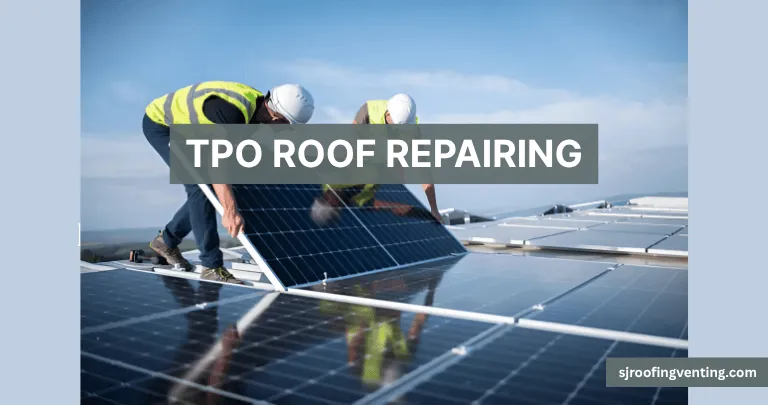
Today we’ll show you how to repair this damaged TPO with endurance liquid flashing. Let’s get started. When you open the bucket of liquid flashing, it’s ready to use and you don’t have to mix it. The only difference between liquid flashing and regular sealants is its thickness. Make sure you clean and dry the area where you’re applying the liquid flashing. When you’re done with the first coat, apply a piece of fabric on top and make sure it sticks well. Press it gently and use a brush to go over the top of the fabric. All done – easy and fast.
Endurance liquid flashing is commonly used as a sealant on seams, penetrations, and fasteners on various roofing systems, including single-ply, as I’ve just demonstrated. It can also be used for modified bitumen, cap sheets, SPF, metal, or common parapet materials.
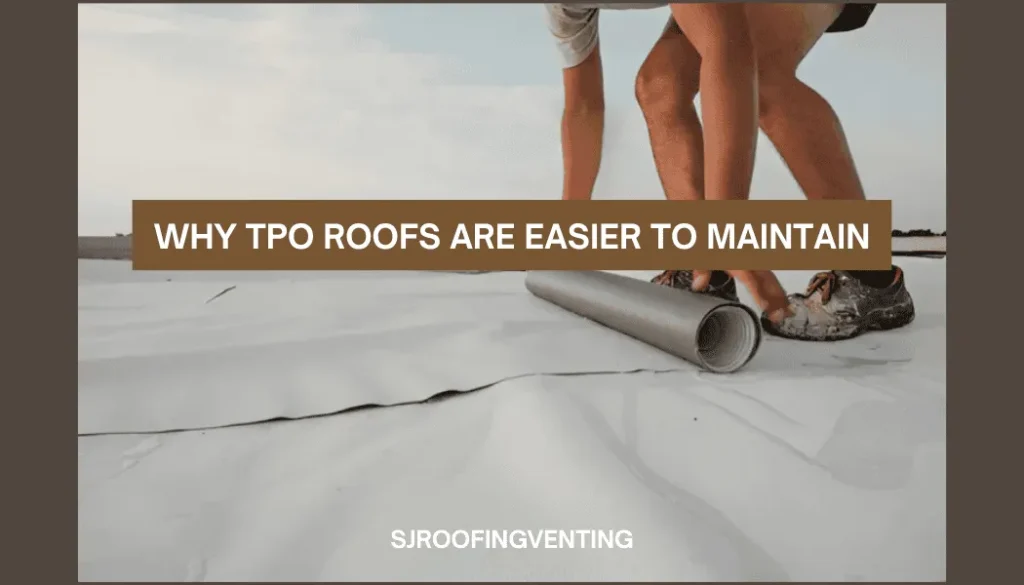
Why TPO Roofs Are Easier to Maintain
I want to talk a little bit about TPO. What I like most about a TPO roof is that it’s much easier to maintain. On a steep-slope asphalt roof, finding a leak and flashing can be a pain. On a large, low-slope metal roof, it’s nearly impossible. Even during production, as we move materials around on a TPO roof, we might do a little damage, but it’s incredibly easy to see the damage. Once you find it, applying a TPO patch is all it takes to make it good as new. The visibility that TPO provides means you can easily maintain the roof and keep it dry for your customer.
Repairing an EPDM Rubber Roof
When it comes to repairing a flat roof like an EPDM rubber one, one issue is often the adhesive that holds down the cover tape. Over time, this can come loose. Let me show you a simple way to repair this. First, cut away the loose parts and remove some of the old caulking. Once cleaned up with thinners, take super silicon sealant and paint the damaged section. Lay a fleece over the silicon and smooth it out. The silicon will seep into every crevice and seal the damaged area perfectly. Unlike traditional cover tape that comes loose again, this repair will never leak. Super silicon seal stretches with the material and never breaks. This is the most durable and easy repair you can do yourself.
Addressing Ponding Issues on TPO Roofs
Welcome to Roofing 101 with Tropical Roofing Products. What we have here is a ponding issue. Ponding water is a major problem on commercial roofs. The goal is to eliminate as much standing water as possible to keep water flowing off the roof and prevent debris from collecting on the surface.
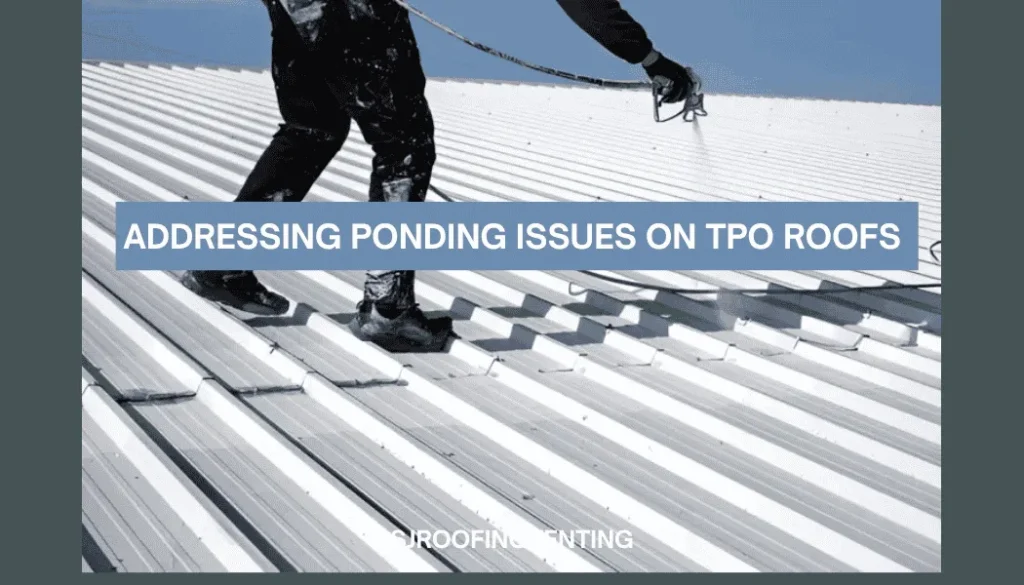
First, broom off any standing water, debris, or rocks. The surface can be damp, but ensure it’s as clean as possible. Then, pour lightweight leveling compound into the affected areas and use a 2×4 to spread and level the product. Smooth it out from high points to low spots as if working with concrete. The compound will even the surface so water can flow properly around roof features like skylights. This prevents water from ponding, which is the key to extending the lifespan of any commercial roof.
Addressing with leaks in TPO
Okay, here we are. If you find a leak in your TPO roof, just don’t worry. Here we will give you a step-by-step guide to recover it. These are all the steps to properly patch the TPO and make sure it’s fixed for good. Okay, just follow all the steps carefully.
Let me get this good and dry — that’s good and dry. Let me get that back on my cleaner. This is a cleaner, not a Gatorade, and now I’m just going to kind of dry this up. That’s a big hole; that one will cause some damage.
Okay, let me see — I got one more. I think we’ll get this guy going here in a little bit. And I got one more rag. She ought to do it here. Oh, there you go. It’s nice and dry. Okay, good to go.
Applying the TPO Patch
All right, basically you’re just gonna — I got this thing all the way turned up. This is 60 mil TPO, so I’m just gonna get this thing started. Don’t mind my probe — it’s been around the block.
Look at that — that’s biting down pretty good. It’s going to kind of stick. Get this thing sticking in here first, and then I want to go around the perimeter.
And she’s sticking good — yeah! I’m getting a little mess here we go.
There you go.
Try not to get her too hot.
Cleaning and Finishing the Patch
Now the next step is cleaning and finishing the patch on the TPO. So, let’s go ahead and clean everything up to make it look good. Okay, we’ll need a little bit of a scrub block around the area, and that should be fine. I’m going to mark it here — we’ll put our initials, the date, and add a small puncture. It’s a bit tricky, but it will get done okay. Make sure you do the patch properly, guys. Take care and see you next time. Remember, the cleaning and finishing of the patch is a really important step among all the steps in TPO repair.
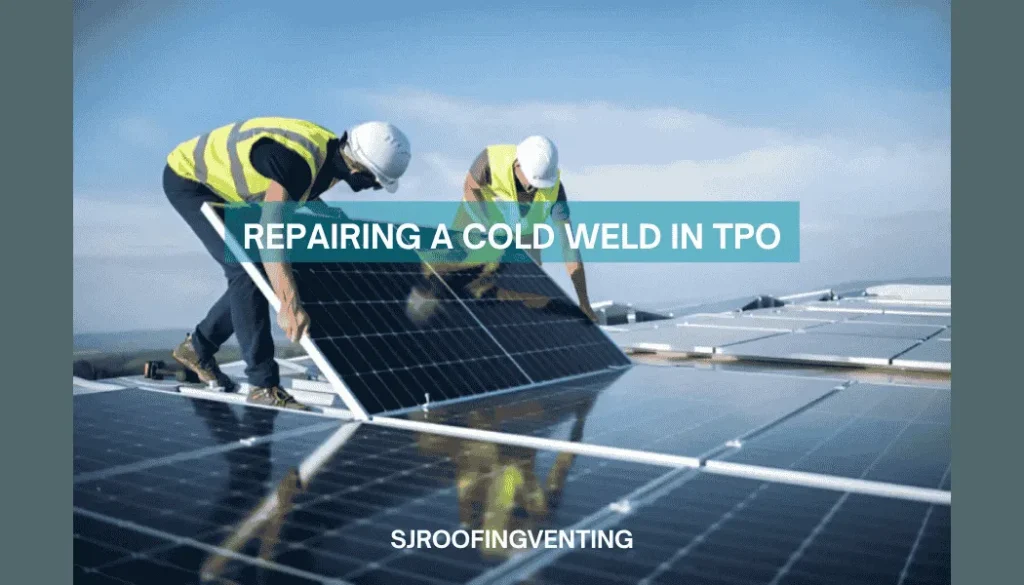
Repairing a Cold Weld in TPO
A lot of times, what you wind up with when doing TPO roofs are what’s called cold welds in the seams. It could be from a start-stop — maybe the guy running the robot answered his phone — a lot of things that can cause a cold weld.
Finding the Cold Weld
What we’re going to look at today is how to repair a cold weld. Finding the cold weld is easy — we just use a probe and probe down the seam. If you’re putting the proper pressure on the probe, it will find the cold weld for you.
Here’s John, and he is preparing a found cold weld for a patch.
Cleaning and Preparing the Surface
First thing he’s going to do is take soap and water — clean soapy water and scrub the area. He’s going to scrub it out much wider than where the cold weld is so he has a nice work area.
Next, he’s going to take the recommended solvent cleaner and wet the rag. He’s going to clean the top, bottom, and in the weld area. After he’s got that clean, he’ll take his heat welder and reweld the area that’s affected by the cold weld.
Cutting and Installing the Patch
He’ll then cut a patch of unsupported material. You could use supported or unsupported at this point, but unsupported welds a little quicker and easier.
John will cut a patch out of unsupported material. He’ll round the corners so they’re less prone to peel.
He will take solvent cleaner and clean the patch thoroughly. Then he’ll center the patch over the area that was not welded properly upon installation. Once he’s gotten his area clean and his patch clean, he will tack weld the patch down in the center so it won’t move.
Once he gets it tack welded down, he’s going to do what we consider a pre-weld. Once the patch is pre-welded, you can see him turn that neoprene roller on and really get a good roll in the crease of the existing seam.
Then he’ll work from the center out to the edges. Again, he’s going to use the corner of that roller and really get a good crease down that seam.
Rolling and Welding
Now he’ll pull and make sure anything that’s not completely welded right there gets popped up and he’s going to start as-weld and move that heat gun pretty quickly with that roller directly behind it.
Using the pressure of the roller to push the two heated pieces of material together is what creates the bond. He’ll work his way around. Once he’s complete, he’s going to let the patch cool.
Probing and Finishing
When the patch is cooled off, I want you to see him creasing that roller again. That’s pretty important. That really puts a good bond from your unsupported patch right into the crease of that lap.
As I was saying — once he gets the patch welded and it begins to cool, we always want to probe our work. I don’t care how good you are — if you don’t probe your work, you’re not finishing your job.
There could have been a piece of dust in there, a piece of lint off the rag — lots of things can cause a cold weld, which is what we’re fixing here.
Completing the Patch
Once he’s done, he’ll pull out his probe and run down all four sides, paying particular attention to the seam — that’s the easiest point of failure. Everything looks good.
He got a little bit up so he’s going to make sure he gets that up and out of the way. Probably put a little cleaner in there and reapply some heat with the roller.
He’s drying off right now just to make sure.
And then — here he goes — weld it down solid.
And that should be that.
That’s a patch over a cold welded TPO lap.
TPO Roof Repair Cost
Hi, my name is Eric, and today I want to answer a common question about TPO repair costs. TPO repairs can vary, and it’s hard to give an exact price without inspecting the roof. Repairs may range from small punctures and welding patches to larger sections of repair or replacements.
Small repairs like tiny punctures or flashing details usually cost between $600 and $1,000. Mid-range repairs, where more work is involved, may cost between $1,000 and $3,000. Major repairs that involve large sections of the roof can cost $3,000 or more. However, most customers only require small or mid-range repairs. Major repairs may make a full replacement more cost-effective.
Each job is unique. Factors like the roof’s condition, number of leaks, penetrations, walls, AC units, and how difficult the repair is will impact the final price. That’s why it’s best to get an on-site estimate. If you have any questions or want a free estimate for your TPO repair, give us a call at 832-458-1602. We’re a local company in Spring, Texas specializing in TPO roofs. Thank you for reading, and we appreciate the opportunity to help.
What is a TPO roof repair kit?
A TPO roof repair kit contains all the tools and materials for TPO roofing repair, including TPO roof repair tape, patches, and sealants to quickly repair TPO roof or flat TPO roof repair like TPO RV roof repair kit.
What is TPO roof repair tape?
TPO roof repair tape is a specialized tape for TPO roof repair and TPO roofing repair, great for sealing flat TPO roof repair leaks, like TPO roof repair Madison or TPO roof repair Milwaukee.
Who provides TPO roof repair near me?
Professional companies offer TPO roof repair near me, including TPO roof repair Houston, TPO roof repair Illinois, TPO roof repair Wisconsin, TPO roof repair Aurora CO, and TPO roof repair Madison, so you can easily repair TPO roof nearby.
What is the average TPO roofing cost?
TPO roof repair cost varies per area like TPO roof repair Houston TX or TPO roof repair Lancaster PA, usually charged per square foot.
What are common TPO roofing problems?
Common TPO roofing problems include punctures and bubbles, fixed by TPO roofing repair or how to repair bubbles in a TPO roof.
What are the TPO roofing installation details?
TPO roofing installation details include heat-welded seams and proper flashing to prevent future TPO roof repair needs.
What are the disadvantages of TPO roofing?
Disadvantages of TPO roofing include seam failure and UV aging that need regular TPO roof repair and maintenance.

Hello! I’m Abdullah, a passionate professional in the field of construction and roofing. I am the proud owner of SJ Roofing & Venting, a leading construction company based in New York. With years of hands-on experience, I write about various construction methods, techniques, and industry insights to share my knowledge and help others in the field. I’m also the founder and main contributor of this website.