Many people face problems like their house heating up during strong sunlight, rainwater dripping from the walls, or snow falling and damaging the roof. Metal roofing is one of the best solutions for these roofing issues. A metal roofing overhang is one of the best solutions of all time.
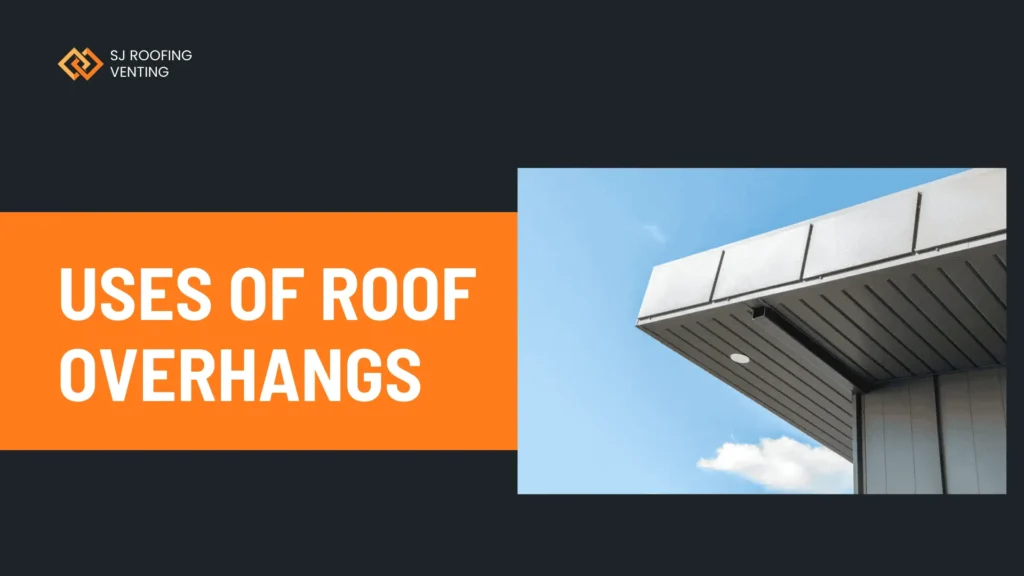
A metal roofing overhang is the part of the roof that sticks out past the walls of your house. Think of it like an extra layer of protection or a built-in shade. It works as an added shield, keeping rain, snow, and harsh sunlight away from the sides of your home.
Why it is used:
- Protects walls and foundation from water damage
- Blocks harsh sunlight to keep your home cooler
- Keeps snow away from building edges
- Gives a neat, finished look to your roof
- Improves roof lifespan by reducing edge wear and tear
In simple words, a metal roofing overhang is like your home’s cap brim—it sticks out to protect everything underneath.
Importance | Uses of Roof Overhangs
A metal overhang or a roofing overhang might look like a small thing and seem like just a design element, but it actually plays a very important role in protecting your home. Many homeowners face problems like sunlight directly heating their walls and windows, causing damage, or rainwater dripping from the walls and damaging the edges of the roof. Snow or ice can also harm the roof edges. These issues not only make the house uncomfortable but can also lead to expensive repairs over time. The best solution is a metal roof overhang.

A roof overhang acts like a built-in umbrella for your home. It extends beyond the walls, blocking sunlight during hot days, directing rainwater away from the walls and foundation, and preventing snow from piling up right against the house. Without an overhang, water can drip directly onto windows and walls, causing dampness, mold growth, and paint damage. Sunlight without shade can heat up rooms, fade furniture, and increase cooling costs.
For people living in areas with heavy rain, snow, or strong summer heat, a roof overhang isn’t just a design choice—it’s a practical protection tool. It makes the roof last longer, keeps the structure safe, and even improves the look of the house.
| Use | How It Helps | Common Problem It Solves |
|---|---|---|
| Weather Protection | Blocks rain, snow, and direct sunlight from hitting walls and windows | Prevents damp walls, mold, and water damage |
| Temperature Control | Provides shade to reduce heat inside the home | Keeps rooms cooler in summer and reduces AC bills |
| Foundation Safety | Keeps rainwater away from the base of the house | Prevents cracks and erosion in foundation |
| Aesthetic Appeal | Gives the roof a finished, stylish look | Makes the home look more attractive and complete |
| Roof Edge Protection | Shields roof edges from excessive wear and tear | Extends lifespan of roofing material |
| Window & Door Protection | Stops rain and snow from falling directly on doors and windows | Prevents swelling, rust, and warping |
| Outdoor Comfort | Creates shaded space under the eaves | Allows you to stand outside without direct sun or rain |
Benefits of Proper Overhang Length
Many homeowners don’t even realize how much trouble the design or absence of an overhang can cause. Without a proper overhang length, rainwater falls directly onto the walls, damaging them over time and causing many issues in the long run. In regions where sunlight directly hits the walls and windows, it can make the indoor spaces hotter, completely damage the furniture, and even reduce the efficiency of the air conditioner. This leads to rising electricity bills and an overall uncomfortable living environment. In colder climates, snow and ice can pile up at the roof edge, causing leaks, structural damage, and dangerous icicles.
The solution is having the right overhang length. A properly extended overhang makes sure water drips away from the walls, blocks the summer sun, and keeps snow from collecting near the building. It’s like giving your house a built-in umbrella and sunshade. The right size matters—too short and it won’t protect enough, too long and it might catch too much wind or look awkward. When done correctly, it strikes the perfect balance between protection, aesthetics, and structural safety.
| Problem Without Overhang | Effect on Home | Solution with Proper Overhang Length |
|---|---|---|
| Rainwater runs down walls | Causes dampness, mold, and peeling paint | Overhang directs water away from walls and foundation |
| Direct sunlight enters windows | Heats up rooms, fades furniture, increases cooling costs | Provides shade, keeps indoor temperature lower |
| Snow piles at roof edge | Leads to leaks, ice dams, and roof damage | Keeps snow away from edges, preventing buildup |
| Water splashes near foundation | Weakens foundation, causes cracks and erosion | Moves water further from base, keeping it dry |
| No shade for outdoor areas | Makes standing outside in sun or rain uncomfortable | Creates a covered zone under the eaves |
| Poor roof edge protection | Roofing material wears faster at the edges | Shields edges, extending roof lifespan |
| Reduced home appearance | Roof looks unfinished or plain | Adds a stylish, finished look to the roofline |
In short, the right overhang length is not just about style—it’s about protecting your investment. Whether you live in a hot, rainy, or snowy area, a well-measured overhang can save you money on repairs, keep your home more comfortable, and make it look better.
Step-by-Step Guide | Installing Roof Overhangs
Many homeowners decide to install or extend a roof overhang themselves, but without proper guidance, the results can be disappointing—or even damaging. A poorly installed overhang can let rainwater leak into the walls, fail to block sunlight, or even sag over time due to weak support. Some people use the wrong materials or cut them incorrectly, leading to wasted money and effort. Others misjudge the length, ending up with an overhang that is too short to protect or too long to handle wind pressure.
The solution is to follow a clear, step-by-step installation process. Doing it the right way ensures your roof overhang not only looks great but also works as intended—keeping your home dry, shaded, and protected for years.
Step-by-Step installation process
First, measure the existing roof edge and decide how far you want the overhang to extend, keeping in mind weather conditions in your area. Next, gather your materials, including quality roofing sheets, support beams, brackets, and screws. Before starting installation, check the roof structure to ensure it can support the added weight of the overhang.

Once ready, install the framing extensions by attaching rafters or beams that extend beyond the existing roofline. Make sure they are securely fixed and aligned. Then, fit the overhang covering material—for metal roofs, this means securely attaching the panels so that they slope slightly to allow water runoff. Finally, add finishing touches like drip edges, flashing, and paint (if needed) to protect against rust and improve appearance.
Step-by-Step Installation Table
| Step | What to Do | Why It’s Important |
|---|---|---|
| 1. Plan & Measure | Measure the desired overhang length based on climate needs | Prevents overhang from being too short or too long |
| 2. Gather Materials | Get roofing sheets, rafters, brackets, screws, and safety gear | Ensures you have everything before starting |
| 3. Inspect Roof Structure | Check if the existing roof can support extra weight | Avoids structural damage or sagging |
| 4. Install Framing Extensions | Attach beams or rafters beyond the roofline | Creates a strong base for the overhang |
| 5. Secure Roofing Material | Fix metal sheets or tiles over the extension with proper slope | Allows water to drain away from the house |
| 6. Add Drip Edge & Flashing | Install protective edges to direct water away | Stops water from entering under the roof |
| 7. Finishing Touches | Paint, seal, or add trim for better durability and appearance | Extends lifespan and improves style |
| 8. Final Inspection | Check alignment, slope, and strength of installation | Ensures long-lasting and safe overhang |
Types of Roof Overhangs
Many people don’t realize there are different types of roof overhangs. Because of this, they sometimes install the wrong type—one that doesn’t match their roof design, climate needs, or house style. A mismatched overhang can look awkward, fail to protect against weather, or even cause structural problems. Choosing the right type is just as important as installing it correctly.
Below are the main types of roof overhangs and how they work.
1. Eave Overhang
This is the most common type and extends from the bottom edge of the roof (the eaves) beyond the wall of the house. Eave overhangs are great for keeping rainwater away from walls and providing shade. They also help protect doors, windows, and the foundation from water damage.
2. Gable Overhang
A gable overhang is found on the sloping edges of a gable roof. Instead of being at the bottom, it extends out along the angled sides. This type is important for shielding the upper wall area under the gable from wind-driven rain and snow. It also adds a neat, finished look to gable-style homes.
3. Soffited Overhang
A soffited overhang includes a horizontal underside covering (the soffit) that closes off the space under the roof extension. This not only makes the overhang look clean but also allows for ventilation if vent panels are installed—helping to control attic temperature and prevent moisture buildup.
4. Unsoffited Overhang
This type leaves the underside of the overhang open. It’s cheaper to build but provides no enclosed space for ventilation. While it works for certain rustic or industrial designs, it can expose rafters and beams to weather, reducing their lifespan unless treated properly.
5. Exposed Rafter Overhang
Here, the rafters themselves extend beyond the wall to form the overhang. The rafter ends are visible and often shaped for decorative appeal. This type is common in craftsman and traditional architecture, offering both style and shade but requiring maintenance to keep the wood protected.
6. Boxed-in Overhang
A boxed-in overhang has its underside fully enclosed with wood, vinyl, or aluminum panels, hiding all rafters and beams. This gives a sleek, modern look and protects structural elements from the weather. It’s low-maintenance but can be more expensive to build.

Hello! I’m Abdullah, a passionate professional in the field of construction and roofing. I am the proud owner of SJ Roofing & Venting, a leading construction company based in New York. With years of hands-on experience, I write about various construction methods, techniques, and industry insights to share my knowledge and help others in the field. I’m also the founder and main contributor of this website.

