How to repair a roof leak? EPDM roofs often start leaking after a few years, and many people try to fix them with patches. But these patches don’t last because water still gets in and the glue just removes. The best way to fix this is by cleaning the roof and using super silicone seal and fleece. This method is easy, strong, and stops leaks for good. In this post, you’ll learn step by step how to repair your leaking EPDM roof.

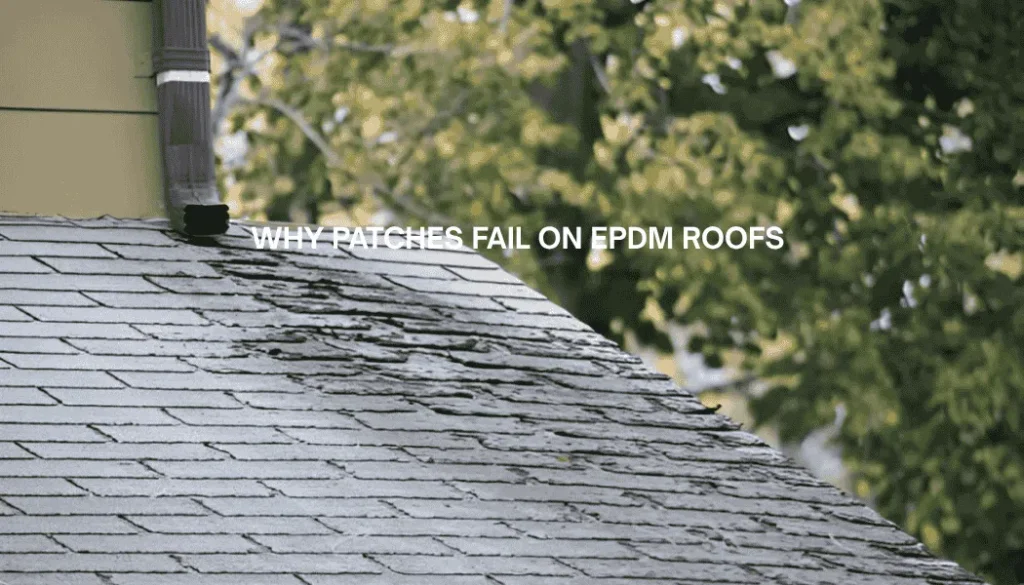
EPDM roofs are very, very problematic—all of them. A few years down the road, they start leaking, and then people try to repair them. You’ll often see numerous repairs attempted in the same area. Just above the skylight, you might spot multiple patches—there’s one here, another there—it’s patchwork everywhere. One overlooked solution in such cases is the use of roofing copings, which can help prevent recurring issues and improve long-term performance. But the issue is, these patches don’t last.
Why Patches Fail on EPDM Roofs
Water just finds its way in. Look closely—you’ll see openings in the patch areas. You can even lift some of them up. Why? Because the glue fails. It never holds the patch down long-term. That’s the main problem.
So, what’s the solution?
Step-by-Step EPDM Roof Repair with Super Silicone Seal
1. Clean the Area Properly
The best thing to do is start with cleaning. I’m going to show you how to prepare it using super silicone sealant.
- First, clean the area properly.
- Wash it with water to get all the crud out.
- Don’t skip this—nothing sticks to dirt.
- Make sure the area is nice and clean before moving on.
2. Dry the Area
After cleaning, make sure it’s completely dry. Dry it out thoroughly so the sealant can bond properly.
3. Apply the Super Silicone Seal
Now comes the super silicone seal—in my case, it’s black.
- I also use polyester fleece.
- Cut the fleece to size—just measure it and trim.
- Then, apply a first coat of the silicone seal in the area.
- Stir the sealant properly before using.
4. Patch It Up
Let me show you something interesting—see that dirty square? That’s where I removed a failed patch last week. I patched it again using this method.
- Just watch how it stretches with the material—unbelievable.
- The seal sticks perfectly.
- You’ll see the black EPDM and the white silicone seal bonding together.
- You literally can’t tear it once it’s dry.
5. Add the Fleece and Second Coat
Once the first coat is applied:
- Place your fleece onto the area.
- Go slightly up the corners if needed.
- Then apply your second coat of silicone seal over the fleece.
- Cover everything completely to avoid gaps.
And that’s it!
Why This Method Works
This method works so well because:
- It sticks to EPDM.
- It doesn’t shrink.
- It doesn’t come loose like regular tape or glue.
- Once sealed, you never have to worry about that spot leaking again.
You can repeat this wherever the patches have failed over the years.
Final Thoughts
That’s how you repair an EPDM roof with old, failed patches. It’s easy, effective, and long-lasting. Nothing sticks to EPDM like super silicone. It’s an amazing product, and the best part—you can do it yourself.
What is an EPDM roof repair kit used for?
An EPDM roof repair kit is used to fix leaks, cracks, and punctures in rubber roofing systems.
What does a rubber roof repair kit include?
Most kits include primer, sealant, patches, and sometimes tools like rollers for easy application.
What is EPDM roof sealant?
EPDM sealant is a flexible, waterproof adhesive used to seal joints, seams, and small cracks on rubber roofs.
What are rubber roof repair products?
These products include tapes, sealants, patches, and adhesives specifically designed for rubber roofing materials.
What is an EPDM roof patch?
An EPDM patch is a piece of rubber or compatible material used to cover and seal a damaged section of the roof
What is EPDM roof repair tape?
EPDM repair tape is a self-adhesive, weatherproof tape used for quick sealing of seams and leaks on EPDM roofs.
How is EPDM repair tape applied?
Clean the surface, apply primer, then press the tape firmly over the damaged area and smooth it out.

Hello! I’m Abdullah, a passionate professional in the field of construction and roofing. I am the proud owner of SJ Roofing & Venting, a leading construction company based in New York. With years of hands-on experience, I write about various construction methods, techniques, and industry insights to share my knowledge and help others in the field. I’m also the founder and main contributor of this website.