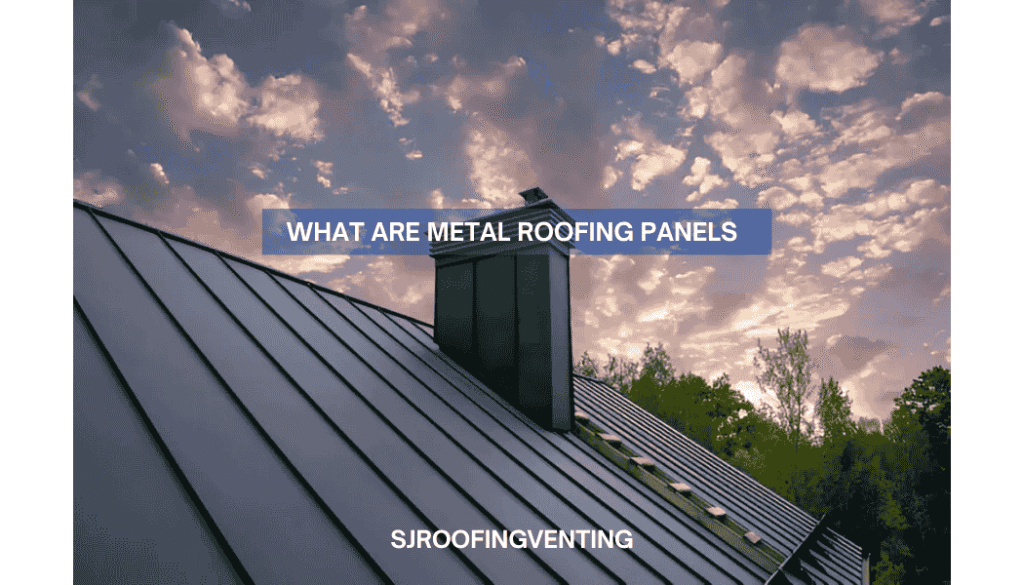
Metal roofing panels are large sheets or tiles of metal, made from materials like steel, aluminum, or copper. They are designed to protect buildings from various weather conditions. These panels are available in different profiles, finishes, and colors, and offer both the functionality of protection and the aesthetic appeal of stylish design.
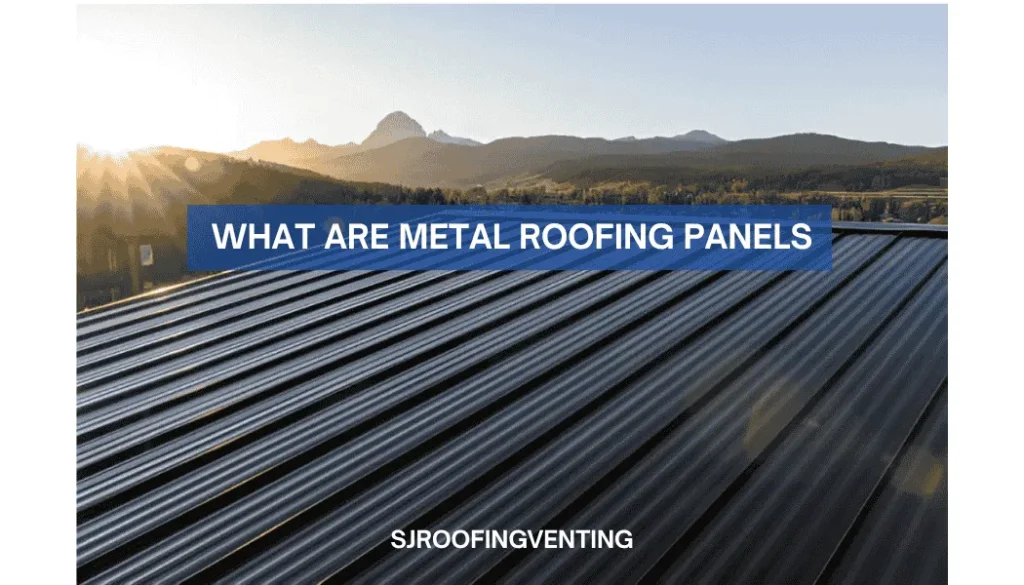
They are known for being durable, long-lasting, and very low maintenance. Metal panels can be installed using either exposed fasteners or concealed fasteners.
Common types of metal roofing panels include standing seam, corrugated, ribbed, and R-panels, each suited for different architectural and structural needs.
If you are interested in metal roofing and are not sure which panel you should choose, you are in the right place. Metal roofing is a durable, long-lasting, and best option for homes and buildings, both commercial as well as residential. However, there are a variety of panels available in the market. This guide offers a detailed overview of the panel profiles available from Western States Metal Roofing, and also includes a step-by-step guide of the installation process to help you make a good and informed decision for your roofing project.
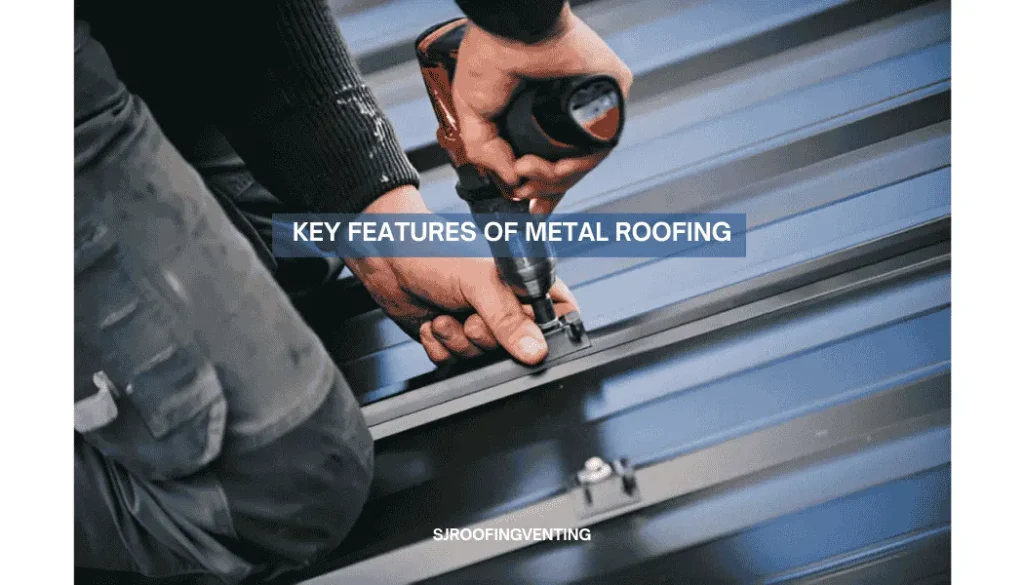
Key Features of Metal Roofing
- Durability: Can last 40–70 years depending on the material.
- Weather Resistance: Can withstand strong winds, heavy rain, hail, and even fire.
- Energy Efficiency: Reflects solar heat, reducing cooling costs.
- Low Maintenance: Requires less frequent repair and upkeep.
- Eco-Friendly: Often made from recycled materials and can be recycled at end of life.
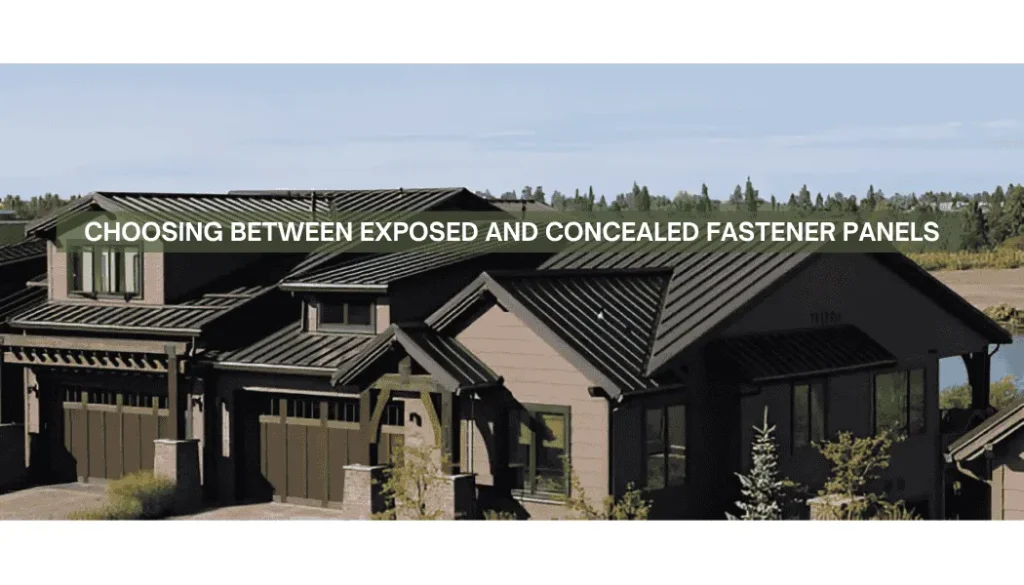
Choosing Between Exposed and Concealed Fastener Panels
The first major decision to make when selecting a metal roofing panel is whether to go with an exposed fastener panel or a concealed fastener panel. These two categories differ in how the panels are attached and how they appear on the roof. Exposed fastener panels have visible screws on the panel surface, making them more affordable and significantly easier to install. However, they are less weather-tight, as the fasteners create small penetration points that can allow water to seep through.
In contrast, concealed fastener panels hide the screws beneath the surface of the metal, offering a sleek, clean appearance. Because there are no visible screw holes, these panels provide superior resistance to leaks, making them a better choice for long-term weather durability. That said, they come with a higher price tag and are more difficult to install, often requiring professional help.
Standing Seam The Premium Concealed Fastener Panel
Among the concealed fastener options, standing seam metal roofing is widely considered the gold standard of metal roofing. It truly offers superior performance and the best weather resistance, along with an unmatched curb appeal and a smooth, streamlined finish. This type of panel is especially used on high-end homes and luxury properties due to its premium look and feel.
However, this quality comes at a cost. Standing seam is the most expensive type of metal roofing, often costing twice as much as other options. It also has the highest installation difficulty and is not suitable for DIY installation.
Western States Metal Roofing offers three types of standing seam systems—Nail Strip, Snap Lock, and MS2—each designed for different needs and roofing conditions.
7/8” Corrugated Metal Panels: DIY-Friendly and Affordable
For those looking for a more affordable and DIY-friendly option, 7/8” corrugated metal panels are an excellent choice. These panels have a distinct wavy, rounded design that sets them apart from other profiles. They are easy to install and available in more than 100 color options, including custom finishes like the Streak Series, which are exclusive to this profile.
However, because the panels must overlap by two corrugations, you will lose some effective square footage per panel and may need to buy more material compared to other styles. And since 7/8” corrugated panels are an exposed fastener type, they are less resistant to leaks than standing seam panels.
R-Panel: Budget Option with Full Coverage
Another exposed fastener option that’s even more affordable is the R-panel. R-panels typically cost 10 to 15 percent less than 7/8” corrugated and provide full 36-inch coverage without overlap loss. While their strength and spanning capabilities are comparable to corrugated panels, R-panels are more commonly used in commercial buildings due to their boxy, industrial appearance. Although they can be used for residential roofing, homeowners should consider whether the look of the panel suits their aesthetic goals. In terms of value, R-panels offer one of the best price-to-performance ratios among metal roofing choices.
7.2 Panel (Western Rib): Heavy-Duty Strength
The last panel type offered by Western States Metal Roofing is their 7.2 panel, also known as Western Rib. This is the strongest panel in their lineup and is ideal for applications requiring support across longer spans or where extra weight from heavy snow is a concern. The increased rib height of the Western Rib not only adds strength but also improves weather tightness compared to other exposed fastener panels. This makes it especially useful for low-sloped roofing where water resistance is crucial. However, the panel’s heavy-duty, industrial look makes it a less popular choice for typical residential projects. It’s more frequently used for metal siding or fencing rather than for roofing.
Installation Process Overview
Starting with the Drip Edge
Once you’ve chosen your panel, understanding the installation process is equally important. Starting with a bare roof made of OSB sheathing, the first step is to install the drip edge. Positioned at the edges of the roof where drainage occurs, the drip edge protects the fascia and gives the roof a cleaner finish. Though it’s not always required, many installers—including the one featured in CLS All In One’s tutorial—prefer to include it for added protection and aesthetics. Drip edge can be secured using nails or flat-head screws.
Installing the Underlayment
The next step is installing the underlayment, which acts as a secondary moisture barrier beneath the metal panels. There are several types of underlayment available, including those with padded or slip-resistant surfaces. One example is FT Synthetic Silver, which comes with a felt backing to provide a small degree of soundproofing. Installation begins at the bottom of the roof, overlapping slightly over the drip edge, and continues upward. A hammer stapler with 3/8-inch staples is typically used to secure the material every 12 inches or less. For added durability—especially in windy areas—you can seal the underlayment seams with tape. As you reach the roof peak, wrap the underlayment slightly over to the other side, then repeat the process from the bottom on the opposite slope.
Installing the Metal Panels
With the underlayment complete, it’s time to install the metal panels. In the video example, 36-inch-wide panels were purchased and cut to 12-foot lengths, making them suitable for roofs with 24-foot trusses. When positioning the panels, aim for about 1.5 inches of overhang from the fascia edge and about 0.5 inch on the gable side—unless you’re not using gable trim, in which case a 1-inch overhang is better. The top of the panel should stop a few inches below the ridge, depending on your ridge cap dimensions. To secure the panels, use painted hex-head screws with gaskets, which form a watertight seal. Begin by aligning the panel square to the roof edge and inserting a single screw to hold it in place. Add a second panel, check alignment again, and then finish fastening both panels.
Screw Placement and Sealing Tips
The screw pattern matters too. On five-rib panels, insert one screw inside the edge of each rib and two screws where overlapping occurs. Screws should be spaced every two feet vertically. Along the outer edges—like at the fascia—more screws are used for added strength. To ensure clean lines, it’s best to measure and mark screw locations before drilling. Pre-drilling isn’t required, but care must be taken not to over-tighten the screws, which can compress the gasket and lead to leaks later on. Tighten the screws just enough to slightly expand the gasket.
Securing the First Metal Panel
I begin by working my way down, but I wait to screw down the last row of screws until my bottom panel gasket is in position (which I will show here in just a few).
Now that the first panel is secured, I can start on the second panel—again starting from the top and working my way to the bottom, but skipping the last row of screws.
From this point on, I can just keep installing one panel at a time until I reach the other end.
Installing the Bottom Inside Panel Gasket
After getting multiple panels installed, it’s now time to install the bottom inside panel gasket. This seals all the small gaps at the bottom of the panels. These gaskets have an adhesive backing for self-sticking, but I wait to remove this backing until I wedge the gasket into position—about one inch from the edge of the roof.
This can be a little tricky, but I found that if I try to install the gasket before laying down the panels, it doesn’t always line up correctly with the ribs, causing a bad seal.
Once I have the gasket in position, I then install the last row of screws at the end of the panels. These screws should line up with the gasket under the panels.
Installing the Ridge Cap
After getting all the panels installed on both sides of the roof, it’s time to install the ridge cap. The ridge cap secures to the top of the peak with screws and a top outside gasket.
- First, I line the ridge cap up with the center of the peak and trace marks onto the panels.
- Then I remove the backing on the gaskets and place them inside the marks I just made.
- Next, I slide the ridge cap back into position and screw it in place with a screw located at each rib.
For the next ridge cap, I slightly overlap it onto the already installed cap by a few inches and repeat the same steps. Where the ridge caps overlap, I also apply a bead of silicone sealant to make a gasket between the two.
In some situations, a ridge cap vent may be necessary. For this, you can use a breathable vent gasket material instead of the standard gasket. This provides adequate ventilation as long as there’s a gap at the center of the peak.
Installing the Gable Trim
Now it’s time to install the gable trim.
- I start off by cutting it to length and doing a test fit.
- I have two longer pieces of trim for each side and one short piece of trim for the center.
- After ensuring the trim fits, I apply a layer of butyl tape to the inside edge where it contacts the metal panels.
- Then, I place the trim into position—flush with the metal panels and the gable face—and screw it in place every two feet on the top and sides.
I repeat the same steps on the other side, then install the center piece (a short piece with a cut in the center bent to match the peak).
With this style of ridge cap and gable trim, I overlap the cap with the trim and fill gaps with a ¾-inch gasket and sealant. But depending on your ridge cap and trim style, you may need custom cuts.
Dealing with Vent Pipes & Roof Vents
Most residential roofs have vent pipes or roof vents. There are products with flexible rubber boots designed to match your metal roof surface.
Here’s how I install a pipe flashing boot:
- Measure and mark the metal panel where the pipe will be.
- Use a chisel to puncture the area and shears to cut the hole.
- Test fit the panel and secure it with screws.
Now, for the pipe flashing boot:
- I use a universal boot (fits 1″ to 6″ pipes) and cut the hole in the rubber about ¼” smaller than the pipe’s outer diameter for a tight fit.
- Apply a thick bead of silicone sealant to the bottom, place it over the pipe, and secure it with screws every inch around the base.
- Then, I add sealant to the top of the boot—push the top down, apply a thick bead, pull it back up, and seal again for a watertight finish.
Before and after photos show the vent pipes with and without flashing boots—clearly demonstrating the effectiveness of the installation.
Roof Tie-In & Advanced Cuts
I also recently added an addition to my home involving a complicated roof tie-in. At this point, I have:
- OSP sheathing in place
- Valley flashing installed
- Four custom trusses cut to gradually match the existing pitch
I cut the metal to match the angle and continue panel installation. Cutting angles for the panels isn’t difficult—it just requires precise measuring. But the ridge cap can get tricky. It must be installed so lower pieces get overlapped by higher ones. A lot of custom cuts, sealant, and gaskets are involved.
Conclusion and Next Steps
That’s the basic overview of metal roofing panel options and how to install them. Whether you’re going with a concealed fastener option like standing seam or a budget-friendly exposed fastener panel like R-panel or corrugated, metal roofing offers durability, longevity, and aesthetic appeal. For more installation tutorials, buyer’s guides, or to explore color options, visit Western States Metal Roofing’s website or their YouTube channel.
Trend Alert Matte Black Metal Roofing
From clothes to cars, black adds style—and now it’s a trending color in metal roofing too.
Why Matte Black?
- Less reflective: Softer look compared to glossy black.
- Modern appearance: Makes your home stand out.
- Warm and elegant: Great for curb appeal.
Light Roof vs. Dark Roof
- Light-colored roofs: Make homes look taller; reflect heat better.
- Dark-colored roofs: Make high slopes look less steep.
However, cool roofing technology allows even dark roofs to reflect heat thanks to special coatings.
Western States Metal Roofing Offers:
- Six different matte black shades
- Metal roofing, siding, and wall panels
- Free color samples upon request
A sleek black roof can give your home a complete modern makeover. If you want something that adds both functionality and beauty to your house—metal roofing in matte black might be the perfect choice.
Need Help or Have Questions?
Drop a comment below or visit our website to explore more. And don’t forget to subscribe for more roofing tutorials and inspiration!
[This guide was brought to you by the Metal Roofing Learning Channel by Western States Metal Roofing]
Pros and Cons of Metal Roofing Panels
| Pros | Cons |
|---|---|
| Durability – Lasts 40–70 years and resists harsh weather. | High Cost – More expensive than shingles or other materials. |
| Low Maintenance – Needs less upkeep than tiles or shingles. | Noisy – Loud during rain or hail unless extra insulation is used. |
| Energy Efficiency – Reflects heat, reducing cooling costs by up to 25%. | Denting – Can dent from hail or falling objects. |
| Fire Resistance – Non-combustible with a Class A fire rating. | Complex Installation – Some types require professional help. |
| Lightweight – Lighter than tile or concrete, easing roof load. | Expansion & Contraction – Temperature changes affect fasteners. |
| Aesthetic Variety – Many colors, finishes, and styles available. | Slippery Surface – Dangerous to walk on when wet. |
| Environmentally Friendly – Made from recycled materials and recyclable. | Not Ideal for All Roof Slopes – May not suit very low-slope roofs. |
What are the disadvantages of metal roofs?
Metal roofs can be expensive, noisy in rain, and prone to denting.
What are the pros and cons of metal roofs vs shingles?
Metal roofs last longer and resist weather better, but shingles are cheaper and easier to install.
What is the biggest problem with metal roofs?
The biggest issue is their high upfront cost.
What are the benefits of metal roofs?
They are durable, energy-efficient, low-maintenance, and long-lasting.
Do metal roofs attract lightning?
No, metal roofs do not attract lightning more than other roofing types.
What are the common problems with metal roofs?
Common issues include noise, expansion/contraction, and installation complexity.
What are people saying on Reddit about metal roof pros and cons?
Reddit users praise durability but mention noise, cost, and installation concerns.

Hello! I’m Abdullah, a passionate professional in the field of construction and roofing. I am the proud owner of SJ Roofing & Venting, a leading construction company based in New York. With years of hands-on experience, I write about various construction methods, techniques, and industry insights to share my knowledge and help others in the field. I’m also the founder and main contributor of this website.