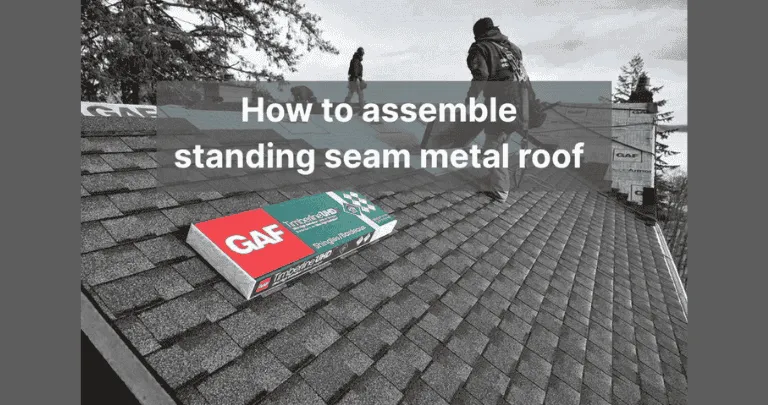
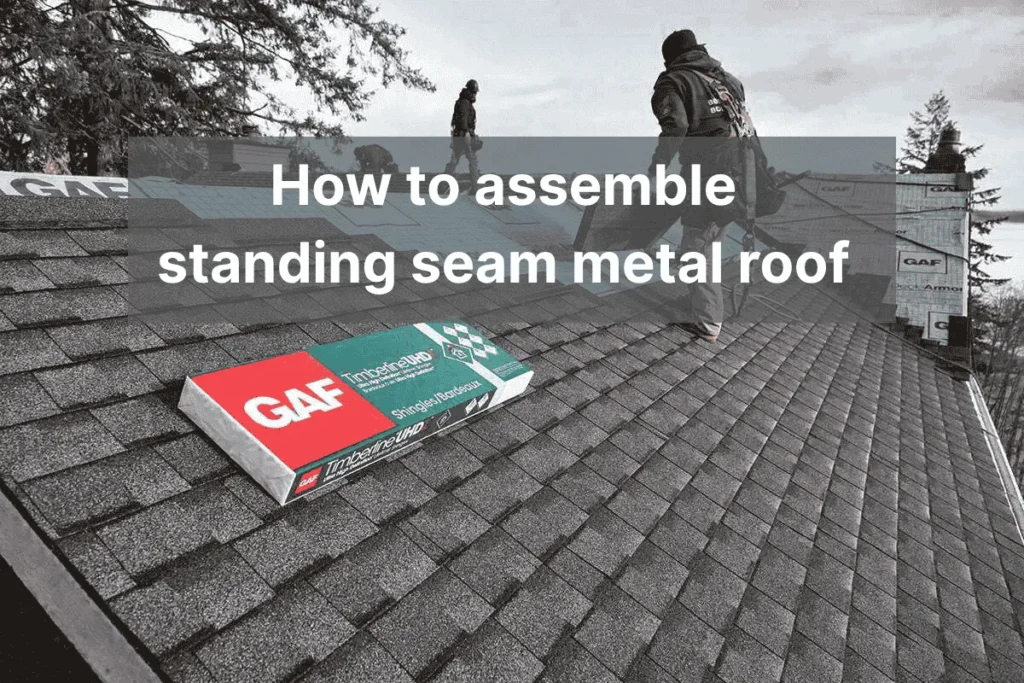
Okay, in this guide we will discuss how to assemble a standing seam metal roof. This step-by-step guide covers all the details, tips, and steps so you can install and assemble it properly. Just follow the process carefully, and you’ll be able to install a strong and high-quality metal roof on your own.
Well, today is the long awaited standing seam metal roof install video on house. we have Matt Lane and his crew from Metal Construction Solutions and Installations, that are going to be demonstrating the entire process. Make sure you check out in the description, we have additional resources and more videos covering every step of the way.
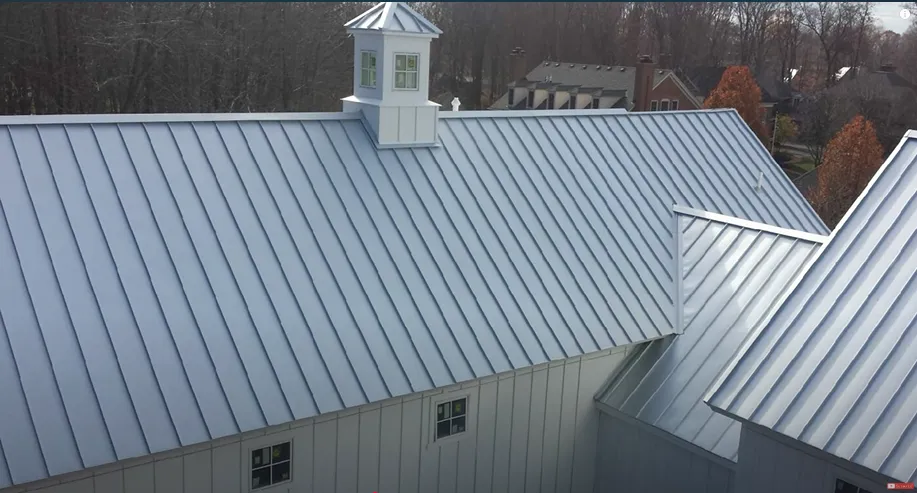
Adam’s roof is about 3000 square feet with two valleys, a chimney, and a couple of pipe penetrations. It’s pretty simple but we’re going to show you warrantable details. Sheffield Metals, weathertight warranty details. We’re going to be installing an inch and a half SnapLock system. But first of all, we need to take off the old shingles, see what the decking looks like underneath. Let’s get to it.
Step 1: Removing the Old Roof
The dumpster has been delivered. So the crew starts by getting their fall protection in order before removing existing flashings on the current roof. Shingles get torn off, tarpaper ripped up and every nail pulled.
There are many reasons to tear off the old shingles before putting a brand new metal roof on, but the number one reason for Adam’s house was the plywood roof decking. It was clearly bowing and warping in places and was noticeable from the ground even when the shingles were on. This unevenness would show through even more on a metal roof. Plus if plywood has rotted away, it’s best to have a solid substrate to attach your new roof to.
Step 2: Prepare the Layout
Start by finishing the layout at 16 inches on center. This is the key measurement to ensure your panels land correctly every time. It’s crucial to stay on this mark throughout the installation. If at any point it looks like you’re off, stop and fix it before continuing.
Make sure you’re starting the bottom square to the top marks already laid out. Do a quick check:
- 183 5/16 rise
- 16’ run = 265 7/16
Mark where 265 7/16 lands on your layout. This will indicate the leading edge of your first panel if everything is square.
Step 3: Repairing the Roof Decking
When we got down to the existing plywood on Adam’s roof it was clear there’s a lot of material that needed to be replaced.

Couple of the things we’re looking for: water damage, mold, mildew, delaminating plywood, weak spots, and patch jobs. Adam decided to straighten the roof by sistering extra two by sixes, using string lines to ensure a clean plane, screwing them down, and then placing staggered plywood with optional H clips.
We’re refastening the new deck to have a nice straight, clean flat deck for the new roof.
Step 4: Lay the Cedar Breather
Roll out the Cedar Breather from top to bottom and tack it lightly with staples just to keep it in place. There’s no need to use double-beaded tape here because the Cedar Breather serves as a drainage plane. Any moisture will work its way down and out through the gap created between the steel and the wood surface.
Step 5: Verify Dimensions
Before placing the first panel, check your bottom dimension — 7 inches is the target. Ensure visibility through the Cedar Breather so you can align properly.
Step 6: Perimeter Flashing
Adam Mazzella, from Sheffield Metals, chose a 24 gauge inch-and-a-half SnapLock in medium bronze for its compatibility with his home’s earth tones.
We began running perimeter flashing. This includes cleats along the eave and rake. Every panel gets hooked onto these cleats. Proper screw placement is vital for wind uplift resistance. We also ran ice and water shield over all fasteners.
Step 7: Place and Hem the First Panel
Set the first panel on the roof. Hem the bottom of the panel so it fits snugly. The Cedar Breather will flatten as needed, creating a quarter-inch gap for condensation drainage. This gap helps moisture drip into the gutter rather than being trapped.
Step 8: Align and Secure the First Panel
Line the edge of the first panel with the pre-marked layout line. Place a screw through the flat of the panel at the top — this will be the only screw through the metal, as it will be hidden by the ridge cap and filler strips later. All other screws will go in the ribs, generally every third rib, though every other rib can be secured if necessary.
Step 9: Install Additional Panels
For each new panel:
- Lay the rib of the new panel over the rib of the previous panel.
- Align carefully to the mark and secure at the top.
- Snap panels together, ensuring no gaps.
- Place screws in ribs, following the screw pattern (every third rib, or every other if needed).
- Avoid over-tightening to prevent distortion.
Before securing all screws, ensure the panel is aligned straight on your mark. If the first screw hole is off, adjust before continuing.
Step 10: Trim and Hem Edges
Use snips to trim panels as needed. Ensure cuts are straight by aligning the snip properly. Gently hammer the hem without scratching the metal, and always check for bubbles or gaps — if present, close them properly.
Step 11: Final Adjustments
Continue working panel by panel:
- Make sure each panel locks into place.
- Mark and measure at each step to avoid accumulating errors.
- Use self-healing underlayment so fasteners seal properly.
- Be mindful of keeping panels flat and on mark, even if some pressure is needed to snap them in.
Step 12: Complete the First Roof Side
Once all panels are in place:
- Check the final piece to ensure the cut fits perfectly (e.g. 7 1/4 inch final rip).
- Ensure the last panel is locked down securely.
- Remember trims will go on later (ridge caps, valley trims, cleat trims).
Additional Notes
- Material: 26-gauge metal, 16-inch on center panels with striations for added strength and to prevent oil canning.
- The method shown works great for simple gable-to-gable roofs.
- For complex areas like valleys, hips, and where roofs intersect, further detail work will be needed (often covered in a separate tutorial).
Final Thoughts
This guide covered the basic standing seam metal roof installation on a straightforward gable roof. The key is precision: mark carefully, align panels properly, and secure them thoughtfully to avoid leaks and ensure durability.
Stay tuned for upcoming guides on valley work, trims, and detailed roof transitions to complete the project!
Where can I watch a video on how to install a standing seam metal roof on YouTube?
You can find detailed installation tutorials for standing seam metal roofs on YouTube by searching “standing seam metal roof installation
Where can I find a PDF guide on how to install or assemble a standing seam metal roof?
Download from our official website SJroofing with step-by-step installation instructions.
What is a standing seam metal roof installation PDF?
It’s a document that outlines tools, safety, preparation, panel layout, and fastening methods for installing standing seam roofs.
How do you install a standing seam metal roof?
Installation involves preparing the roof deck, laying underlayment, aligning panels, and fastening them with concealed clips or fasteners.
What is included in a standing seam roof installation guide?
An installation guide covers panel layout, clip spacing, trim installation, and sealing techniques.
. Is there a video guide for installing standing seam metal roofs?
Yes, many roofing brands and professionals provide full installation walkthroughs in video format.
What is a standing seam metal roof installation diagram?
It’s a visual layout showing panel placement, seam joints, clips, trims, and fastener locations.

Hello! I’m Abdullah, a passionate professional in the field of construction and roofing. I am the proud owner of SJ Roofing & Venting, a leading construction company based in New York. With years of hands-on experience, I write about various construction methods, techniques, and industry insights to share my knowledge and help others in the field. I’m also the founder and main contributor of this website.